
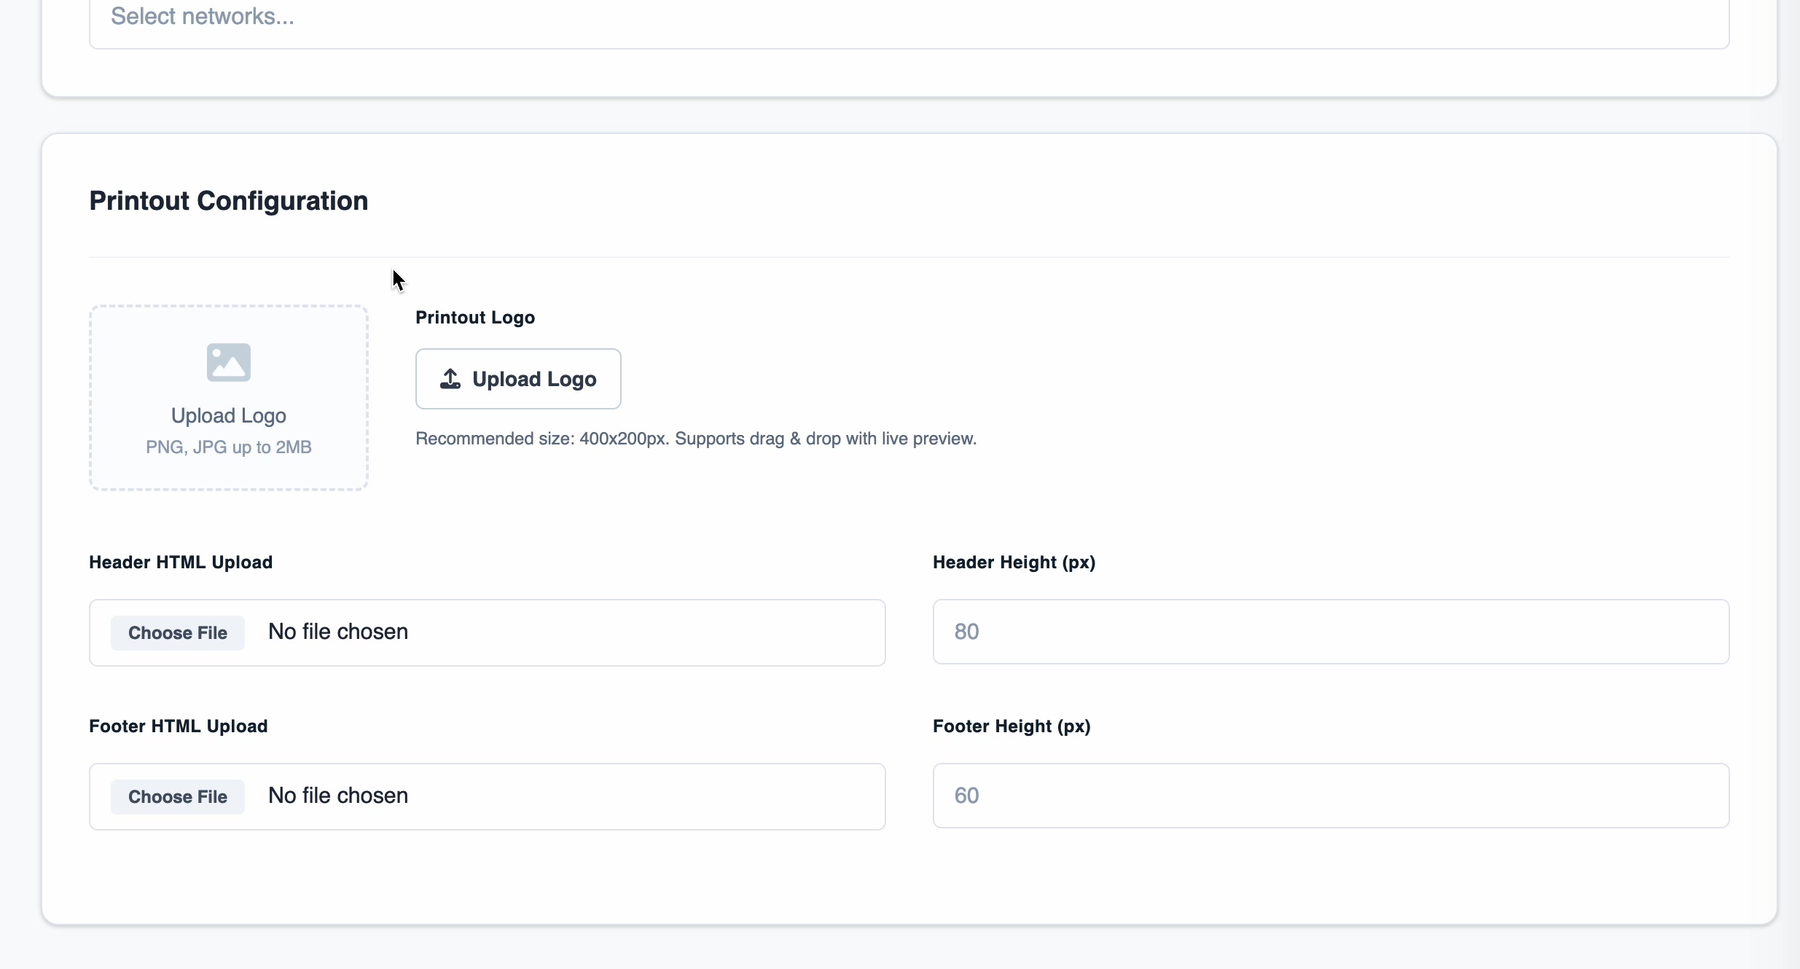
Printout Configuration controls what your quotations and other documents look like when they
are printed or sent as a PDF. It is a separate section from Company Branding, and the two do
not share a logo: the branding logo is what customers see inside Freightools, the printout logo
is what lands on the page.
Set the printout logo
- Open Settings → Company → Basic Info and scroll to Printout Configuration.
- Click Upload Logo, or drag the file onto the upload area. The recommended size is
400 × 200 px, as a PNG or JPG up to 2 MB. - Click Save Changes.
Use a designed header and footer
For a full letterhead — a designed band across the top of every page, a footer with your
registration details — upload HTML files instead of relying on the logo alone.
- Next to Header HTML Upload, click Choose File and pick your header file.
- Set Header Height (px) to the height that file needs, for example
80. - Do the same for Footer HTML Upload and Footer Height (px), for example
60. - Click Save Changes.
Important: Each height is given in pixels and should match the header or footer file you
uploaded. Print one document and look at it before you rely on the setting.
Both uploads are optional. Leave them empty to print with the logo alone.